Ever bought jewelry online, felt confident for five minutes… then stared at the delivery photo like, “Why does this look so different on me?” That gap between “pretty product photo” and “real-life vibe” is exactly why an AI try-on tool is such a game changer.
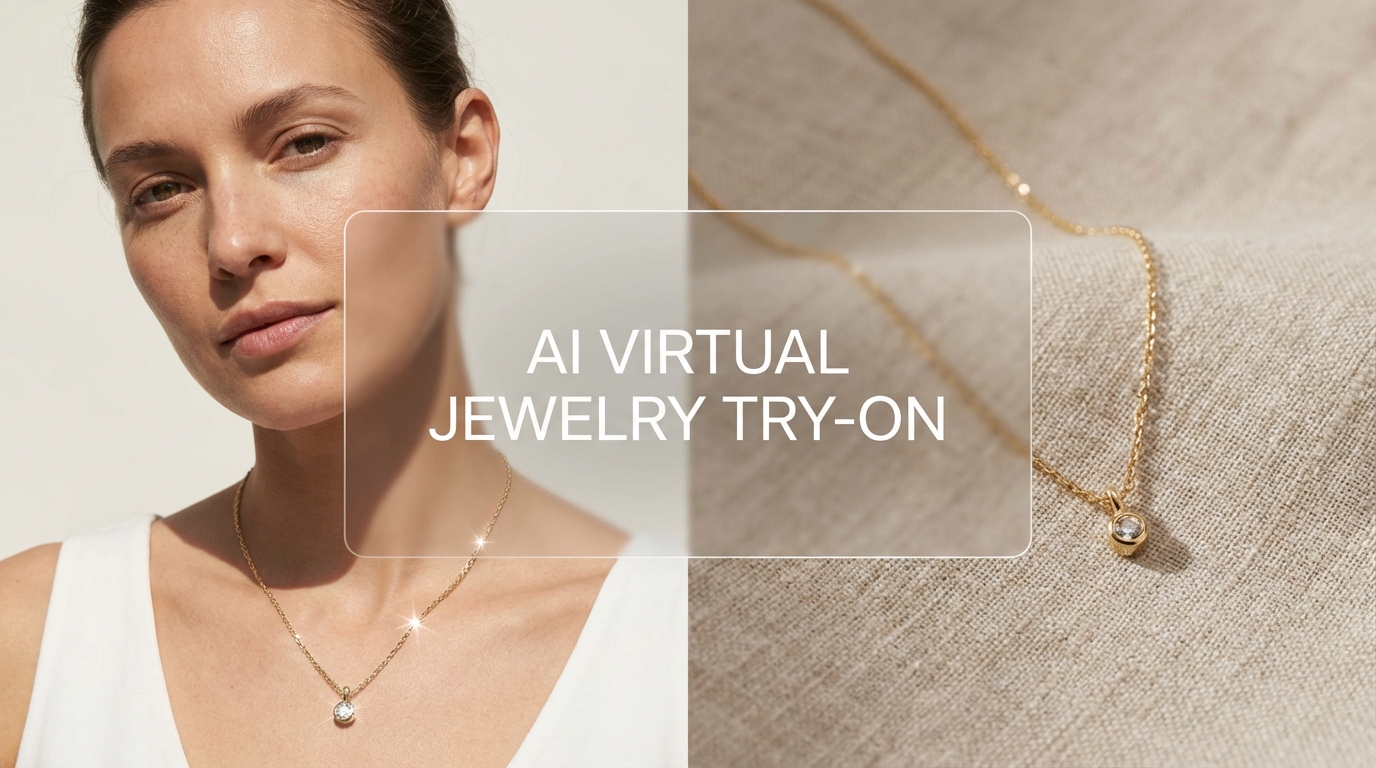
With Virtual Jewelry Try-On, you can upload a photo of a person plus a photo of jewelry and generate a realistic preview—necklace, earrings, rings, or bracelets—without a store visit, without a camera setup, and without the guesswork.
This guide walks you through the tool step-by-step, plus the small tricks that make results look more natural and less “AI-ish.”
What the Tool Does (And Who It’s Perfect For)
At its core, this tool is a simple Online Jewelry Try-On workflow:
- upload a person image,
- upload a jewelry image,
- pick jewelry type,
- add a short prompt,
- generate and refine.
You can use it for:
- Shoppers who want a fast preview before purchasing
- Gift buyers who want to “see it on” before committing
- Sellers and brands creating lifestyle-style visuals without shooting a full campaign
- Creators building outfit moodboards, styling reels, or lookbooks
And if you’re writing for different audiences, the same intent is often searched with UK spelling too—Virtual Jewellery Try-On—so you’ll see both phrases used across content.
Before You Start: Prep Images That Actually Look Real
A try-on result is only as good as the images you feed it. Good news: you don’t need perfection. You just need clarity.
Person image checklist
Choose an image that matches the jewelry type:
- Necklace: head + neck + collarbone visible (avoid big scarves and high collars)
- Earrings: ears visible (hair tucked works best)
- Rings/bracelets: a clear hand/wrist pose (avoid motion blur)
Then check these quick quality rules:
- Natural lighting is best (soft daylight is the easiest)
- Avoid heavy filters or beauty smoothing (it can confuse realism)
- A neutral background helps—busy scenes may reduce clean blending
Jewelry image checklist
Jewelry images work best when:
- The item is centered and sharp
- The background is simple (plain backdrop = easiest)
- The jewelry is not partially cut off
- You can clearly see metal edges and gemstone details
If your jewelry photo is a product listing photo, that’s usually fine. Think of this as Jewelry Try-On Online that makes existing images more usable.
A Quick Tour of the Tool Interface
When you open Virtual Jewelry Fitting, you’ll typically see:
- Upload Person Image (your model photo)
- Upload Jewelry Image (the jewelry you want to try)
- Select Jewelry Type (Necklace / Earrings / Rings & Bracelets)
- Prompt box (a short description that guides style + realism)
- Hints / examples (optional quick-start images to test results)
The prompt box is where you can “steer” the realism—things like lighting, camera distance, skin texture, and accurate proportion.
Step-by-Step: Try Jewelry On in About 5 Minutes
Step 1 — Upload a person photo
Pick the cleanest photo that fits your jewelry type.
If you want a necklace preview, don’t use a selfie cropped at the forehead. If you want earrings, don’t use a photo where hair covers both ears. Small difference, big result.
Step 2 — Upload a jewelry photo
If the jewelry photo has a messy background (like a hand holding it, or a busy desk), it can still work—but you’ll generally get better output with a clean, centered product shot.
Tip: If you have multiple product photos, try the sharpest one first.
Step 3 — Choose the correct jewelry type
This step matters more than people expect.
- Necklace: aligns the chain and pendant around collarbone/neck curvature
- Earrings: targets ear placement and drop length
- Rings & Bracelets: maps jewelry to hand/wrist perspective
If something looks “floating,” the first fix is often: try the right category again—or switch to a more suitable person photo.
Step 4 — Add a prompt that locks in realism
The prompt doesn’t need to be long. It just needs to be specific.
A strong baseline prompt you can reuse:
“High-resolution close-up, natural skin texture, soft realistic lighting, accurate proportions, photorealistic, jewelry worn naturally with realistic reflections and shadows.”
If you’re building content internationally, you can refer to the same intent as Virtual Jewellery Fitting—the tool is the same; the audience language differs.
Step 5 — Generate, review, and refine
Your first generation is rarely perfect. Don’t worry—that’s normal.
Review these four things:
- Scale (too big/small?)
- Placement (aligned to neck/ear/hand?)
- Lighting match (does it belong in the photo?)
- Reflections/shadows (does it look physically real?)
Then iterate using one change at a time:
- adjust prompt (lighting / scale / texture)
- swap the jewelry image (cleaner angle)
- swap the person photo (better visibility)
This is the practical rhythm of AI Jewelry Try-On: generate → tweak → generate again.
Prompt Mini-Templates You Can Copy/Paste
Here are short prompt starters you can keep in a notes app.
General (works for most cases)
“Photorealistic close-up, natural skin texture, soft daylight lighting, accurate jewelry scale, realistic reflections, clean details, no beauty filter.”
Necklace
“Neck and collarbone in focus, necklace resting naturally along collarbone, chain follows neck curvature, realistic pendant weight and shadow, photoreal.”
Earrings
“Portrait close-up, ears clearly visible, earrings aligned to earlobe piercing, correct drop length, realistic metal shine and soft shadow, photoreal.”
Rings & bracelets
“Hand/wrist close-up, natural pose, accurate perspective, ring aligned to finger, bracelet aligned to wrist, realistic highlights and subtle shadow, photoreal.”
And for UK-focused posts, you can position these as AI Jewellery Try-On prompts for creators and shoppers.
Common Issues (And The Quick Fixes That Actually Work)
“The jewelry looks too big / too small.”
Fix:
- Add “accurate scale” and “correct proportion” to your prompt
- Use a person photo with stronger size cues (clear neck/ears/hands)
“It’s floating or slightly off-position.”
Fix:
- Confirm you selected the correct jewelry type
- Choose a person photo with better visibility (ear/neck/hand unobstructed)
- Add a placement hint: “aligned to earlobe” / “centered on collarbone” / “aligned to ring finger”
“Lighting doesn’t match, so it looks pasted on.”
Fix:
- Specify lighting direction: “soft daylight from the left” / “warm indoor light”
- Keep it simple—one light source works better than complicated lighting descriptions
“Skin looks overly smooth or plastic.”
Fix:
- Add “natural pores” / “natural skin texture” / “no beauty filter”
“The jewelry loses detail.”
Fix:
- Use a sharper jewelry image
- Add “high detail, crisp edges, clear gemstone facets”
Best Use Cases (Where This Tool Saves the Most Time)
1) Shopping decisions without regret
Try 3–5 jewelry options on the same person photo. Your taste becomes obvious fast.
2) Gift buying with confidence
You can preview how a necklace or earrings might look—without asking the person to “try it on” first.
3) Seller visuals without a photoshoot
If you run an online shop, this can help create consistent lifestyle-like previews from simple product images.
4) Creator styling and moodboards
Great for short-form video planning: generate options, pick a best look, then build your styling story around it.
FAQ
Is this only for necklaces?
No—this tool supports common categories like necklace, earrings, and rings/bracelets depending on the image and selection.
What kind of photos work best?
Clear, well-lit images with the relevant body area visible (neck/ears/hands). Product photos with simple backgrounds tend to generate the cleanest jewelry detail.
Can I use results for marketing or product listings?
If you’re a seller, it’s great for concept visuals and mockups. For official listing standards, always check your platform’s rules and your brand’s disclosure preferences.
How do I make the result look more natural?
Keep prompts short and realistic (lighting + texture + accurate scale). The best improvements usually come from using better images, not longer prompts.
Final Step: Try Your First Look (Then Do One Smart Iteration)
If you only remember one workflow, make it this:
- upload a clear person photo
- upload a sharp jewelry photo
- pick jewelry type
- write a short realism-focused prompt
- generate, then adjust one thing and generate again
That’s how Virtual Jewelry Try-On becomes genuinely useful—not a one-shot demo, but a fast, repeatable styling tool you’ll come back to whenever you’re deciding between “cute” and “actually looks good on me.”