Choosing a haircut or hair color can feel strangely high-stakes. A small change can refresh your whole look, but the wrong choice can leave you waiting months for it to grow out. That is why more people are turning to AI for hairstyle previews before making a real appointment. Instead of guessing how bangs, waves, short cuts, or a new shade might look, you can test them on your own photo first.
This guide walks through the process in a simple, practical way. Whether you want a polished everyday style, a dramatic makeover, or just a low-risk way to explore options, an AI hairstyle changer can help you compare ideas quickly and make a more confident choice.
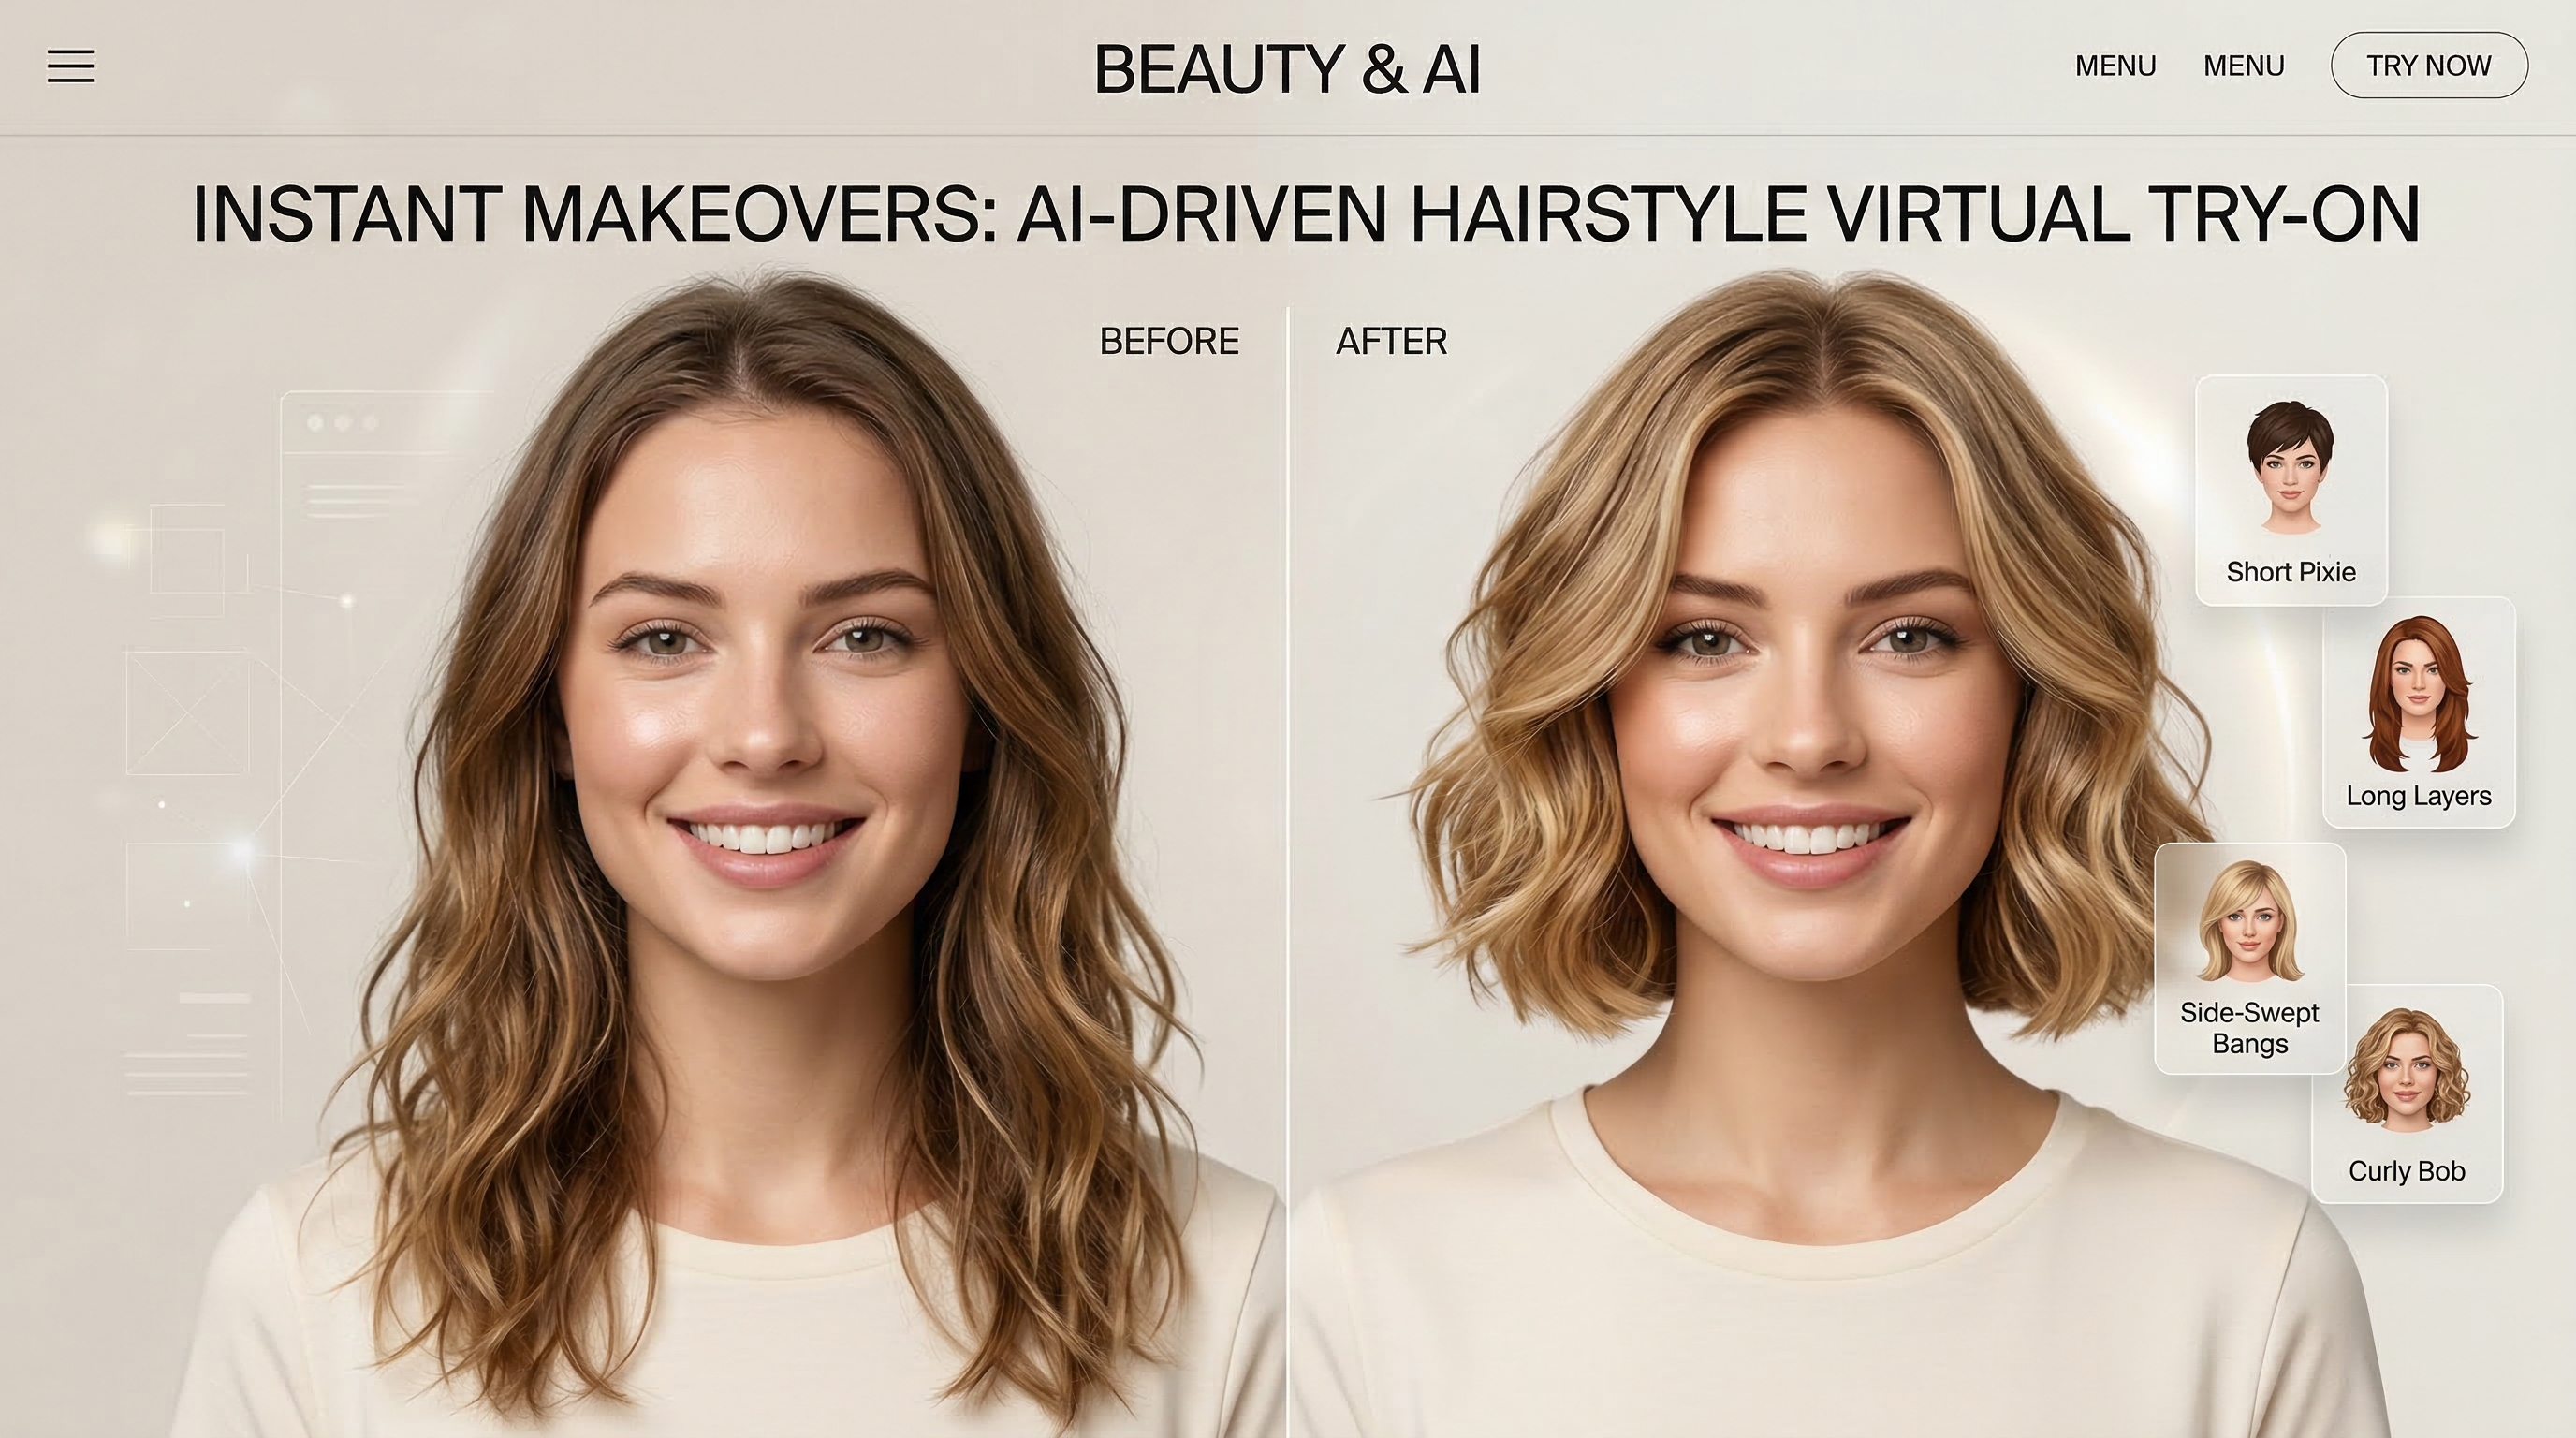
Why use an AI hairstyle tool in the first place?
Hair is one of the fastest ways to change your appearance, but it is also one of the hardest things to predict accurately in your head. A cut that looks great on someone else may frame your face differently. A color you love on a celebrity might clash with your skin tone or feel too bold for everyday life.
That is where a good hairstyle changer becomes useful. It gives you a visual starting point. You can try several cuts, compare colors, and narrow your choices before you talk to a stylist or barber. It also saves time, because you stop relying on vague imagination and start working from actual previews.
For many users, the biggest value is not perfection. It is clarity. You do not need the simulation to predict every strand perfectly. You just need it to help answer real questions: Would shorter layers suit me? Do curtain bangs soften my face? Would a cooler shade look better than a warm one? An online AI hairstyle preview tool is ideal for exactly that.
What makes this tool beginner-friendly?
A lot of editing tools overwhelm new users with too many controls. This one is more straightforward. The basic workflow is easy to understand: upload a photo, pick a hairstyle, choose a color if needed, and generate your result.
That simplicity matters. If you are only trying to test new looks, you do not want to spend half an hour learning a complicated editor. You want something quick, visual, and intuitive. This tool is especially useful for people who want results in minutes rather than a deep editing workflow.
It is also flexible enough for different needs. Some users want a subtle refresh. Others want to test a dramatic transformation. Some care more about hairstyle shape, while others mainly want to preview color. Because you can adjust style direction and experiment across multiple generations, it works for all of those scenarios.
Step 1: Start with the right photo
The quality of your result depends heavily on the photo you upload. If you want realistic previews, use a clear, front-facing portrait with even lighting. Your face should be visible, your hairline should not be hidden, and the background should be as simple as possible.
Try to avoid hats, sunglasses, strong filters, or dramatic shadows. Side angles can still be interesting, but for first-time use, a centered portrait is usually the safest option. The more clearly the tool can read your facial structure and current hair area, the more convincing your hairstyle preview tends to look.
This is especially important if you care about AI face hairstyle matching. The goal is not just to paste a haircut on top of your image. The better result is one that feels balanced with your forehead, cheekbones, jawline, and overall proportions.
Step 2: Choose the right settings before you generate
Once your photo is ready, take a moment to look at the controls instead of rushing straight into generation. Model choice, aspect ratio, and resolution all influence how your final result looks.
If you are testing styles casually, begin with a standard aspect ratio and a moderate resolution so you can generate faster. Once you find a look you really like, you can create a cleaner final version at higher quality. This approach is more efficient than starting with your highest setting every time.
You should also think in terms of comparison. Instead of aiming for one perfect image, generate a few variations under similar settings. That makes it easier to judge the actual hairstyle difference rather than being distracted by unrelated changes.
Step 3: Test the cut before you test the color
A common mistake is changing everything at once. People switch from long brown hair to a short silver style in one step, then struggle to decide what they actually like. Was it the cut? The color? The texture? The fringe?
A better method is to isolate variables. First, test the hairstyle itself while keeping the color close to your natural one. Once you know which cut flatters your face, you can experiment with shades.
This is where an AI hairstyle tool for women can be especially helpful for testing curtain bangs, bobs, blunt cuts, waves, or braided looks, while an AI hairstyle tool for men is useful for comparing options like buzz cuts, crew cuts, Caesar cuts, comb overs, or longer flow styles. The point is not to follow a rule. It is to compare structure, volume, and face framing in a way that feels relevant to you.
Step 4: Then explore color with more confidence
After you narrow down the cut, move on to color. This step is usually more fun because the risk is lower in a preview than in real life. You can try natural shades, cooler tones, lighter colors, or bold fashion colors without committing to salon time or upkeep.
When testing color, keep the hairstyle mostly consistent. That makes your comparison cleaner. If one image changes both length and shade, your eye may not know what it is responding to.
It also helps to think practically. Ask yourself whether you want a color that fits your daily style, your work or school environment, and your maintenance tolerance. A striking color might look exciting in a preview, but a slightly softer version may be more wearable in real life.
Step 5: Compare your results like a stylist would
Once you have several outputs, do not just choose the one that feels trendy. Look at them carefully. Does the style balance your face? Does it make your forehead look more open or more hidden? Does it sharpen your features, soften them, or create better symmetry?
Try saving your top three results rather than forcing a final decision immediately. Often, a hairstyle that feels flashy at first becomes less appealing when you revisit it later, while a more balanced option grows on you.
This is one of the biggest benefits of using AI hairstyle online. You get the freedom to step back, compare, and rethink before you make a real change.
Practical hairstyle ideas to test first
If you are not sure where to begin, start with one safe option, one modern option, and one bold option.
For a softer refresh, try gentle layers, beachy texture, or curtain bangs. For a cleaner and more structured look, test a blunt cut, a bob, or a sharper medium-length shape. For a dramatic change, go shorter, lighter, or more textured than you normally would.
Men can do the same. A safe test might be a tidy short cut, a modern choice might be a textured crop or flowing medium style, and a bold option might be an ultra-short buzz or a more stylized comb over. Side-by-side comparisons are often more revealing than you expect.
Why browser-based previewing is more convenient
Many users do not want to install anything just to try a haircut idea. That is why a browser-based tool feels easier than a traditional hairstyle app. You can open it, upload a photo, test different looks, and move on without adding anything to your device.
That convenience makes the tool useful not only for personal makeovers, but also for content creation, salon planning, social profile updates, and casual experimentation with friends.
Common mistakes to avoid
The first is using a poor photo. Low light, harsh shadows, and angled selfies make it harder to generate natural-looking results.
The second is changing too many things at once. If you want a meaningful comparison, keep either the cut or the color stable while testing the other.
The third is expecting one output to answer everything. In practice, hairstyle testing works best when you compare multiple versions and look for patterns. Maybe shorter cuts suit you, but very heavy bangs do not. Maybe cooler shades work, but only with medium length. Those are the kinds of insights that matter.
The fourth is forgetting context. A hairstyle should fit not only your face, but also your comfort level, styling habits, and daily life.
When to use Gemini instead
The main tool is great for quick, visual experimentation. But if you want more custom control, there is another path: Gemini for AI hairstyle edits.
This option is useful when presets are not enough and you want to describe a look in words. You can upload a portrait and write a prompt such as: “Keep my facial identity consistent, give me shoulder-length soft ash-brown waves with airy curtain bangs, natural lighting, realistic salon finish.”
That is why AI Gemini hairstyle generation works well as an alternative. The main hairstyle changer is faster for direct comparisons, while Gemini is better when you want to guide the result more precisely with language.
Final thoughts
A hairstyle preview should not replace the judgment of a skilled stylist or barber, but it can make your decision much smarter. Instead of walking into an appointment with only a vague idea, you can bring visual references based on your own face.
That is the real value of using AI for hairstyle testing. It turns uncertainty into comparison, and comparison into confidence. Whether you are considering a small update or a complete transformation, starting with a preview is one of the simplest ways to make a better choice.
Recommended Tools
- AI Image Generator for broader portrait editing and style experiments.
- AI Headshot Generator for polished profile-ready images.
- Profile Picture Maker for turning your favorite hairstyle result into a clean avatar.
- Image to Prompt to convert hairstyle references into reusable prompt language.
- Background Remover to clean up portraits before editing.
- Photo to Video to animate a final look into short-form content.
Related Articles
- How to Use Veo 3.1 to Generate Stunning AI Try-On Videos
- Virtual Try-On AI Photo-to-Video Generator (2026): The Best Image-to-Video AI Explained
- How to Create Authentic UGC Images with Virtual Try-On AI That Actually Convert